
Taking hydrangea cuttings is a fantastic way to propagate your plants, giving you more beautiful hydrangeas to fill your garden or share with friends. Hydrangeas are relatively easy to root, and with a bit of care, you can quickly build up your stock of these stunning plants. In this post, I’ll guide you through the process of taking cuttings from your hydrangea, step-by-step.
What Month Do You Take Hydrangea Cuttings?
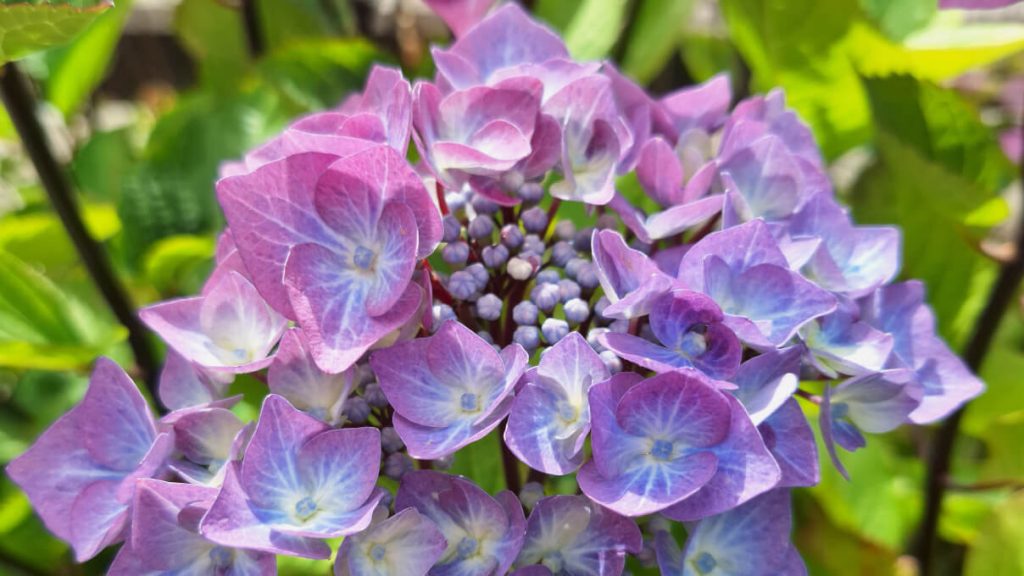
The best time to take hydrangea cuttings is late spring to early summer, when the plant is growing actively. June or July are ideal months here in Ireland and the UK. You want to take softwood cuttings – these are the young, fresh shoots that are still flexible but have begun to harden slightly.
How to Take Hydrangea Cuttings: Step by Step
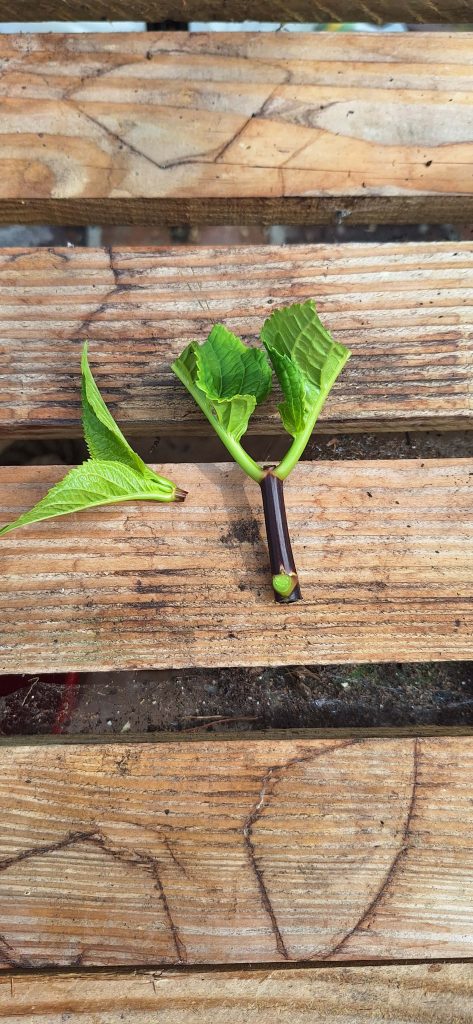
1. Select the Right Stem:
Look for a healthy, non-flowering shoot. A stem without flowers gives the cutting a better chance of putting its energy into developing roots rather than supporting blooms. It should be about 4-6 inches long.
2. Cut Just Below a Node:
Using a sharp, sterilised pair of secateurs, snip just below a leaf node (the small bump where leaves emerge from the stem). Your cutting should have 3 to 4 pairs of leaves. I prefer 2 sets of leaves and a central growth.
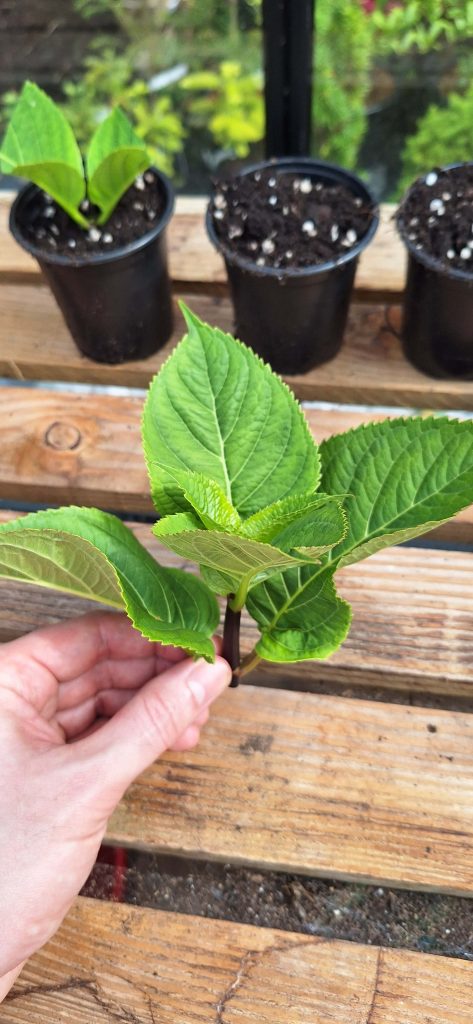
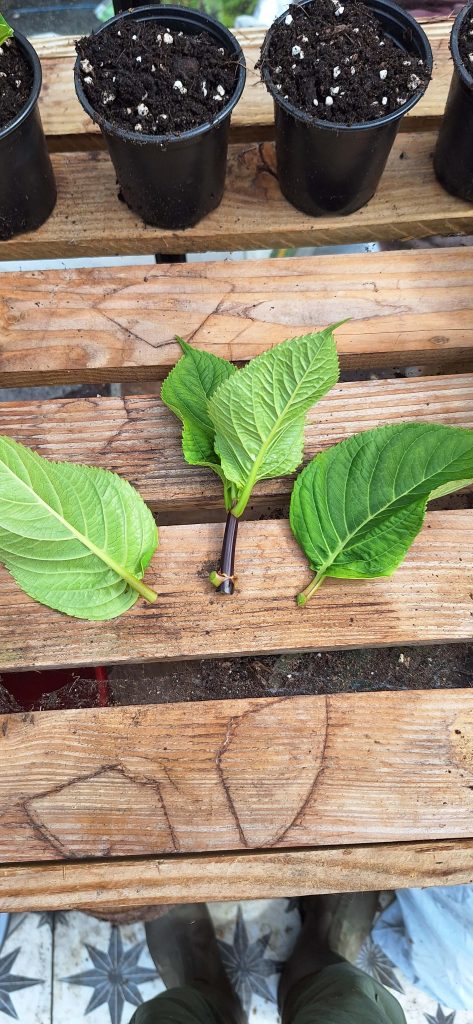
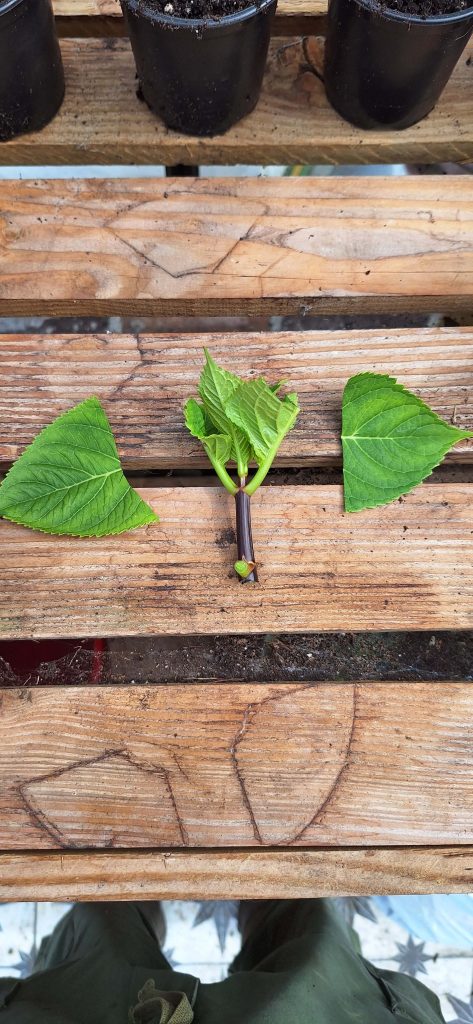
3. Prepare the Cutting:
Strip off the bottom pair of leaves, leaving just a couple of sets at the top. You can also cut the top leaves in half to reduce moisture loss and encourage rooting. Pinch out the central growth. This helps to encourage side shoots, rather than a single stem.
4. Optional: Use Rooting Gel:
While not absolutely necessary, dipping the end of the cutting in rooting gel or rooting hormone powder can speed up the rooting process and increase your chances of success. You can find organic rooting powders in most garden centres. Be warned, it stinks!

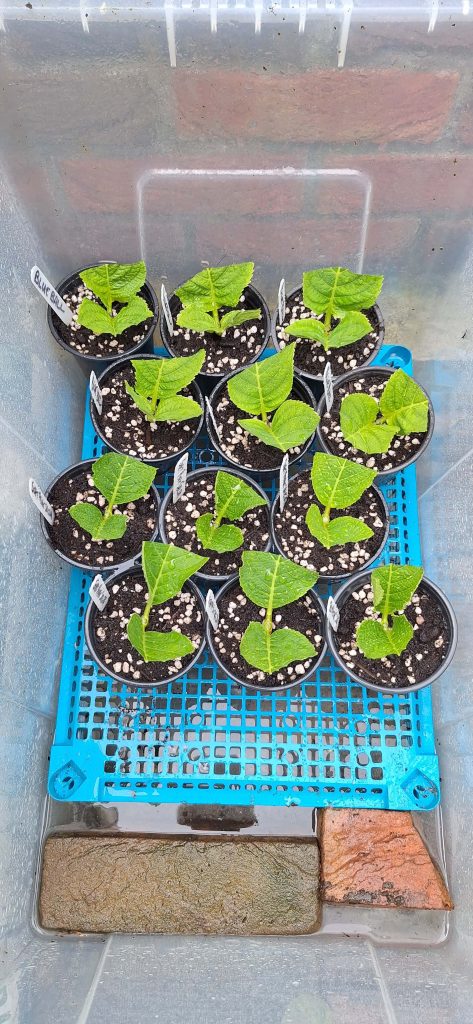
5. Place the Cutting in a Pot:
Fill a small pot with a mix of peat-free compost and perlite for drainage. Insert the cutting, making sure at least one node is buried in the soil, as this is where roots will form. Gently firm the soil around the cutting to hold it upright.

6. Water and Cover:
Water the cuttings lightly and keep in a clear storage box, lid on. This creates a mini greenhouse for your cuttings. A single Hydrangea cutting can also be covered with a plastic bag. Keep the cuttings out of direct sunlight and in a bright, sheltered spot. Keep the cuttings misted. Humidity is key for rooting.
Do Hydrangea Cuttings Root in Water?
Yes, hydrangea cuttings can root in water, though it’s not my preferred method. While it’s fun to see roots forming, plants rooted in water often struggle when transferred to soil. If you do want to try it, simply place the cutting in a glass of water and keep it in a bright spot, changing the water every few days. Once roots are about an inch long, carefully move the cutting into soil.
What Is the Best Way to Propagate Hydrangeas?
In my opinion, the best way to propagate hydrangeas is by taking softwood cuttings in early summer and rooting them in a well-draining compost mix. This method gives the cutting the best chance to establish strong roots before planting out in the garden.
Can You Put Hydrangea Cuttings Straight into the Ground?
While you can plant hydrangea cuttings directly into the ground, I’d recommend rooting them in pots first. This gives you more control over the environment and increases the chances of success. Direct planting can expose the cuttings to slugs, pests, and varying moisture levels, all of which could stunt their growth.
Aftercare for Your New Hydrangeas
Once your cuttings have rooted (which should take around 4-6 weeks), you can pot them on into larger containers or plant them out in the garden.
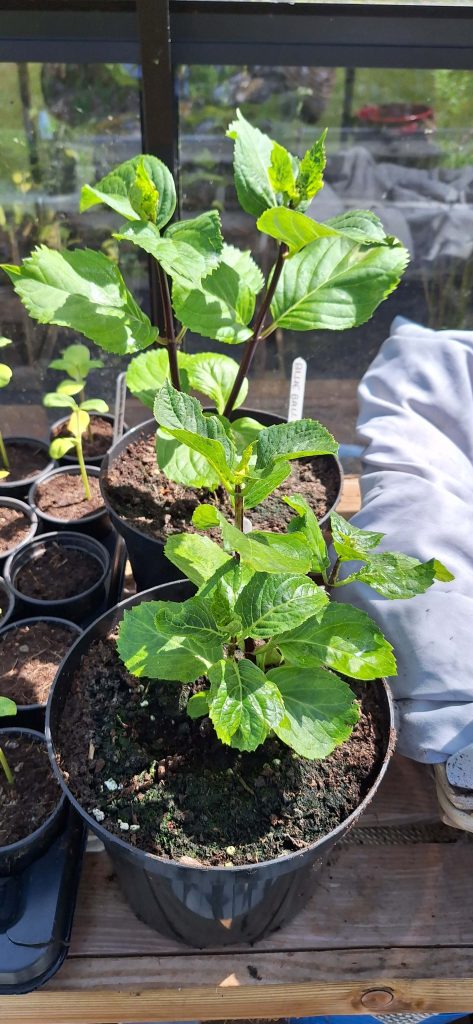
Hydrangeas love moisture, so make sure they’re well-watered, especially in the first few months after planting. Position them in a spot with partial shade, and in a couple of years, you’ll have a full-grown hydrangea, ready to thrive!

Enjoy the process of propagating your hydrangeas. Not only is it satisfying to grow new plants for free, but it also helps to create a more sustainable garden – and who doesn’t love that? Happy gardening!
Leave a Reply